
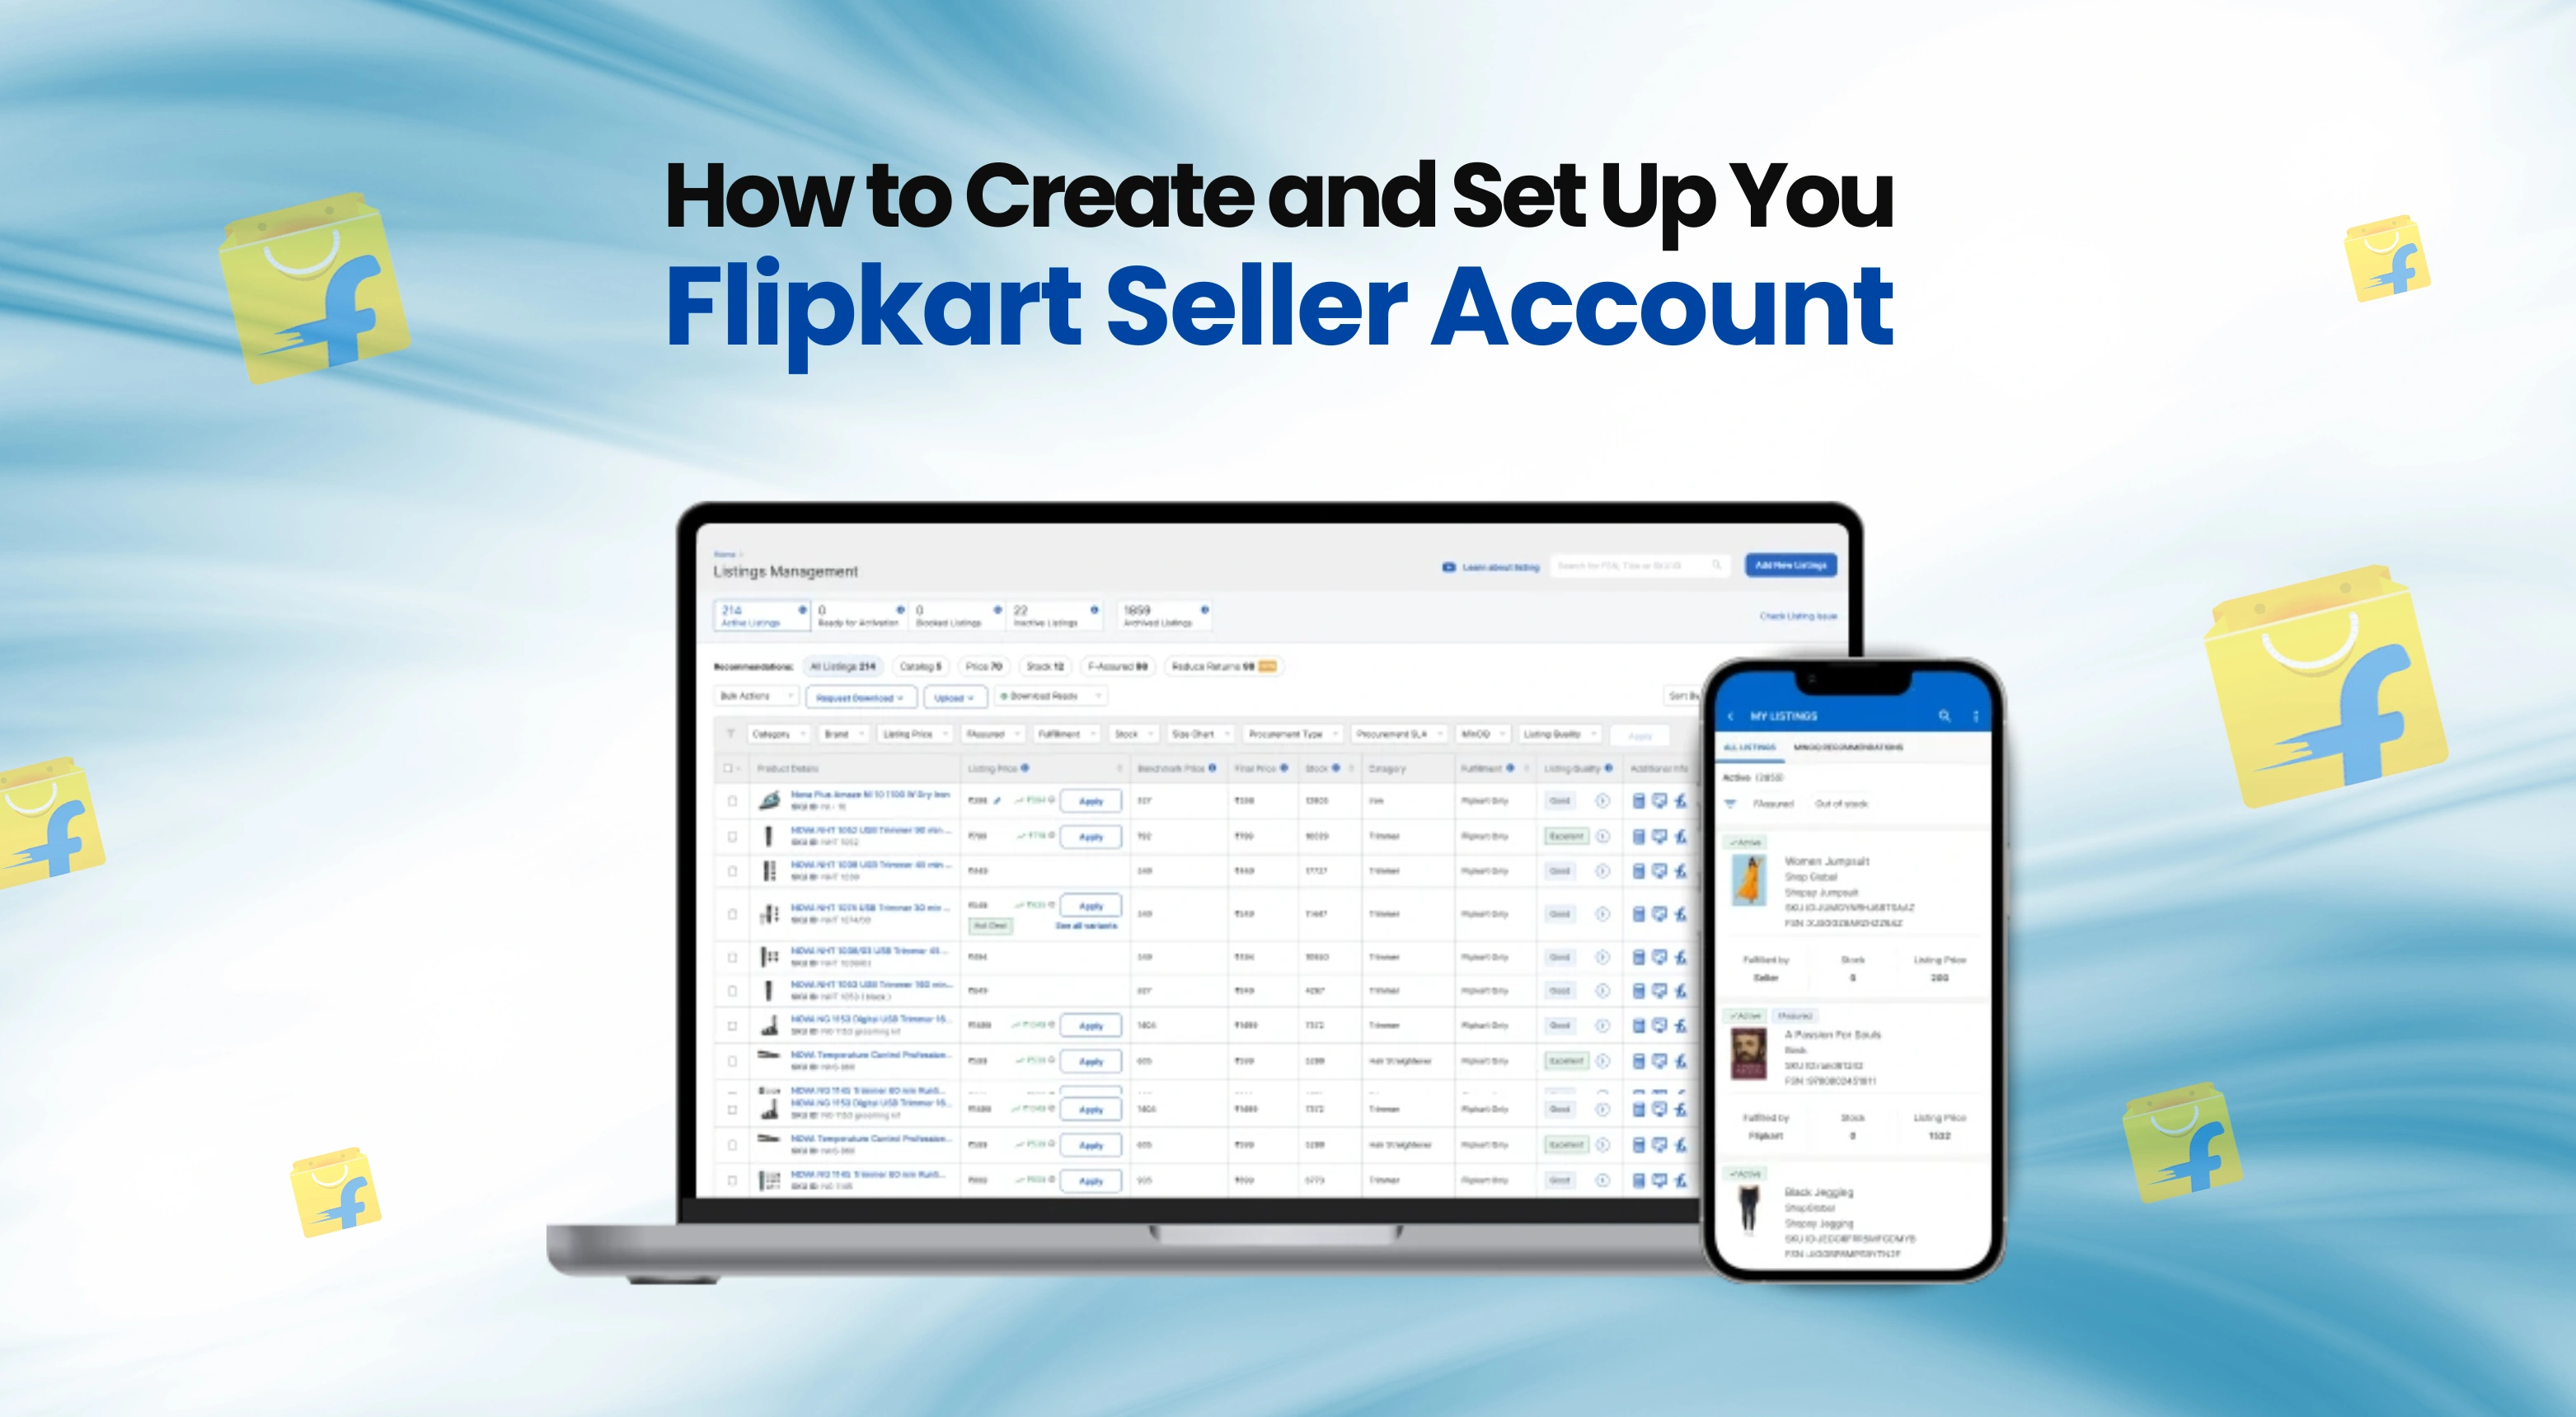
Inside the digital world, selling is pretty much the best way to scale one's business. Flipkart is one of India’s biggest e-commerce platforms. It gives sellers great chances to showcase their products to millions of customers. To sell clothes, electronics, or home goods, start by registering for a seller account on Flipkart. But how does one start to do so? Is it a tough process to get into?
In this blog, we will explain how to create and set up a Flipkart Seller Account. If you’re new to selling online, we’ll help you every step of the way. We’ll guide you from signing in to uploading your first product. To boost your store, use Flipkart account management services. They handle it all for you. So, let's get started and launch your business online!
Simple Steps to Create a Seller Account on Flipkart
To start selling on Flipkart, you need to create a seller account through a simple step-by-step process. From registration and KYC verification to listing your products and managing orders, each step ensures you're fully set up to grow your online business. Below is a detailed breakdown of the process to help you launch your Flipkart seller journey with ease.
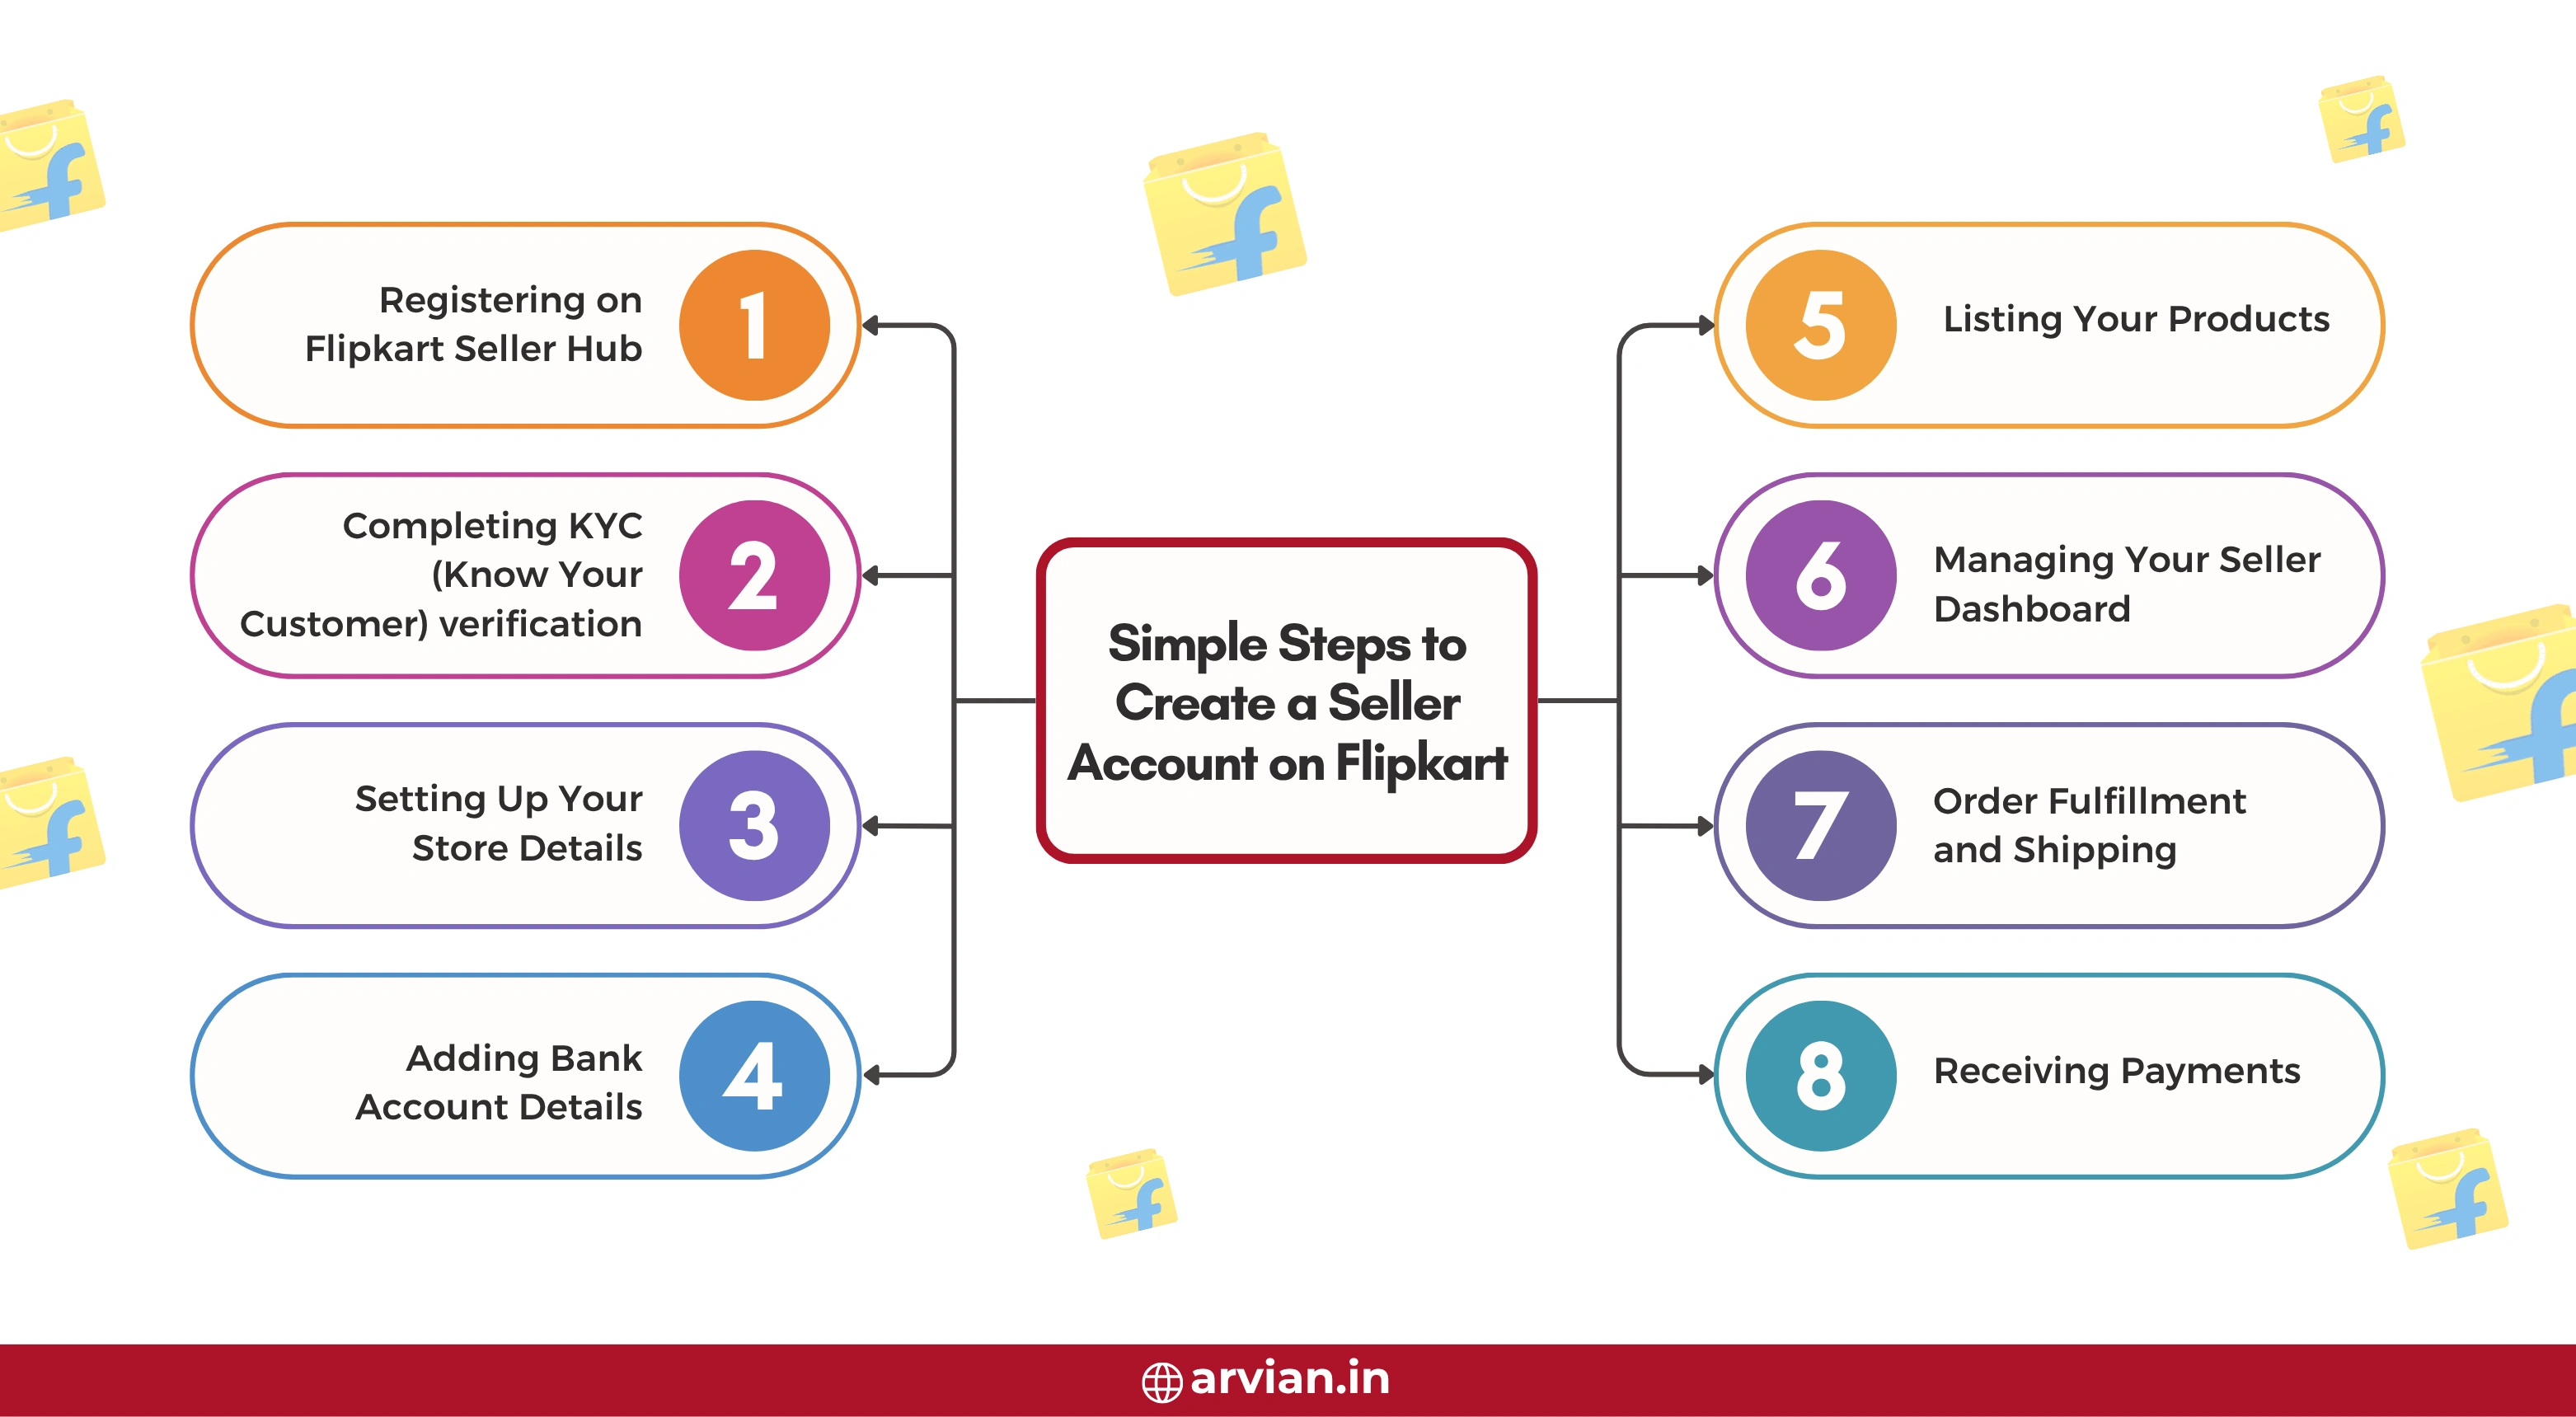
Step 1: Registering on Flipkart Seller Hub
- Create Your Account: First, you need to go to the Flipkart Seller Hub and click on "Register Now.” Next, you will be asked to enter your email ID and set a password. Choose a strong password. It requires at least one uppercase letter, one lowercase letter, and one special character.
- Verify Your Email: Upon registration, Flipkart will mail a verification link to the email address you provide. You should click on that link to confirm your email address. This is crucial in terms of your account’s safety and interaction.
- Set Up Your Profile: Once you have verified your email, sign in to the Flipkart Seller Hub. Then, complete your profile. Please give your full name, the name of the business, and contact details. With an understanding of your business, Flipkart can start offering services that cater to you.
Step 2: Completing KYC (Know Your Customer) verification
- Upload Required Documents: Sellers are asked by Flipkart to undergo a KYC process as required by law. Get the following documents ready and upload them:
- Aadhaar, passport, voter ID, etc.
- GST Registration Certificate (mandatory for most categories) or PAN.
- A canceled cheque or bank statement for validating the bank account number.
- Address Proof: You can prove your business address with any of these: utility bill, rental agreement, or bank statement. Make sure the address in the proof document matches the one you provided when you registered.
- Verification Process: Flipkart will review the documents submitted. This procedure may take a few days. After verification, you will receive an email. Your account will be fully activated at that point.
Step 3: Setting Up Your Store Details
- Store Name and Description: First, select a name that represents your brand. Describe your store in a few sentences to tell people about your store (the kind of products you sell, your mission, etc).
- Business Type: Select your type of business from the following:
- Sole proprietorship: An individual running the business.
- Private limited company: A company registered under the Companies Act.
- Partnership: A business owned by two or more partners.
- Pickup Address: Enter the address from which Flipkart's logistics partner will pick up your products. The address needs to be correct and in a serviceable area. This way, you won't have issues with deliveries.
Step 4: Adding Bank Account Details
- Bank Account Information: You need to give your bank account details to receive payments from Flipkart. This will include your account number, IFSC code, and the account holder's name.
- Bank Proof: Upload a canceled cheque or bank statement for proof of the bank account. This will ensure that we make payments without any glitches.
- Verification: Flipkart will verify your bank details first. Once verified, you can receive payments for your sales.
Step 5: Listing Your Products
- Product Information: On clicking the option of "Add Product," these are the details that you will have to enter for your products:
- Product Title: A brief yet clear name for your product.
- Description: Key features or benefits to describe your item in complete detail.
- Images: High-resolution images showing the product from various perspectives.
- Price: Enter a competitive price for your product.
- Stock Quantity: Number of units for sale in stock.
- Product Categories: Choose the main and subcategories of your product. This helps customers find your product easily.
- Shipping Details: Select your shipping method:
- Flipkart Fulfillment: In short, Flipkart stores, packs, and ships your products.
- Self-Ship: You will be storing and shipping your products.
- Return and Warranty Policies: Set clear return and warranty policies to survive on customers' trust.
Step 6: Managing Your Seller Dashboard
- Dashboard Overview: The Seller Dashboard of Flipkart is where you find the primary control center. Here, you can:
- Order Processing: Check incoming orders and their status.
- Product Listing: Edit details, prices, and stock.
- Payment Tracking: Check payment status and history.
- Performance Analysis: Review sales reports and feedback.
- Notifications: Get the right updates on new orders, returns, and changes in policies. Immediately acting on them will maintain a good seller rating.
Step 7: Order Fulfillment and Shipping
- Receiving Orders: Once the customer places an order, a notification comes to you. We should pack the product and make it ready for dispatch within the specified time.
- Shipping: The Flipkart logistics partner will collect the package from your location. Ensure the package has a proper label and complies with Flipkart's packaging specifications.
- Tracking: Use the Seller Dashboard to track the shipment. Then, confirm that someone has delivered the parcel. Keep the customer updated on the order status.
Step 8: Receiving Payments
- Payment Schedule: Flipkart will make the payment within a period of 7 to 15 business days after delivering the order. Ensure the bank details provided are accurate to prevent any payment delays.
- Payment Methods: The payment method is bank transfer or UPI. The UPI limit per day is ₹1 lakh.
- Payment Confirmation: When we credit the payment to your account, you will receive a notification. Please check your bank statement at regular intervals for receipts.
Conclusion
Opening a seller account on Flipkart is easy. It lets you reach a large number of buyers. You can follow this tutorial to open an online store. Then, list your products and buy units. Remember to maintain attractive listings, provide great customer service, and stay updated on Flipkart policies. Flipkart Account Management Services may help if you need assistance with your Flipkart seller account. They help sellers manage their accounts. This way, sellers can focus on growing their business.
Frequently Asked Questions
1. Is it free to create a Flipkart seller account?
It is free to register. Only a minimum percentage of commission needs to be paid whenever a sale is made.
2. Do I need a GST number to sell on Flipkart?
A GSTIN is required for selling the majority of products on Flipkart.
3. Can I sell from my home address?
Yes, your pickup address may be that of a home, office, or shop, provided it is valid.
4. How will I be receiving my orders?
After every sale, Flipkart deposits the earnings directly into your account with the bank.
5. In case any problem arises in accounting, what will I do?
You can choose Flipkart Account Management Services, an expert management service, to handle your account.